preserving the season
a recipe for candied orange peels

Welcome to mama eats, a twice-weekly newsletter inspired by a simple + seasonal home life. This week’s post, a recipe for candied orange peels, is free to all readers, barring the video of me making it which is viewable by paid subscribers. I try to provide as much free content as possible, however, this newsletter is a labor of love and I am a busy mother of three. If you have the means and find value in what I share, please consider becoming a paid subscriber, which also gives you the benefit of access to the growing archive (posts over a month old).
I love the flavor of orange peels, perhaps even more than the flesh, and use them to flavor a good many things both savory and sweet- grated into vinaigrette, used to flavor lentils, grated over hot soup, scrunched into sugar to flavor simple olive oil cakes, cut finely into strips to mix into a bowl of green olives, a thick slice of peel squeezed over and then dropped in to a cocktail or cup of tea to release its lovely, oily pungency. Then there’s marmalade and of course, candied orange peel. I am rather late this year making candied orange peels, I usually do a batch of them right after doing my yearly batch of marmalade, but as is the case with so many things these days, I am behind. However, we still had a good handful of fruit hanging on to our navel orange tree, even as the new blossoms promising next year’s crop begin to unfurl, sirening us with their heady perfume. Candied orange peel is an important item for my pantry- I use it to flavor baked goods thoughout the year (hot cross buns, panettone and panforte, maritozzi to name a few), and just snack on by itself (a few pieces, with a handful of fresh cracked walnuts, and a piece of dark chocolate is a delightful treat, especially in winter). As I am planning to make maritozzi in the next couple weeks, I needed to make a fresh batch.
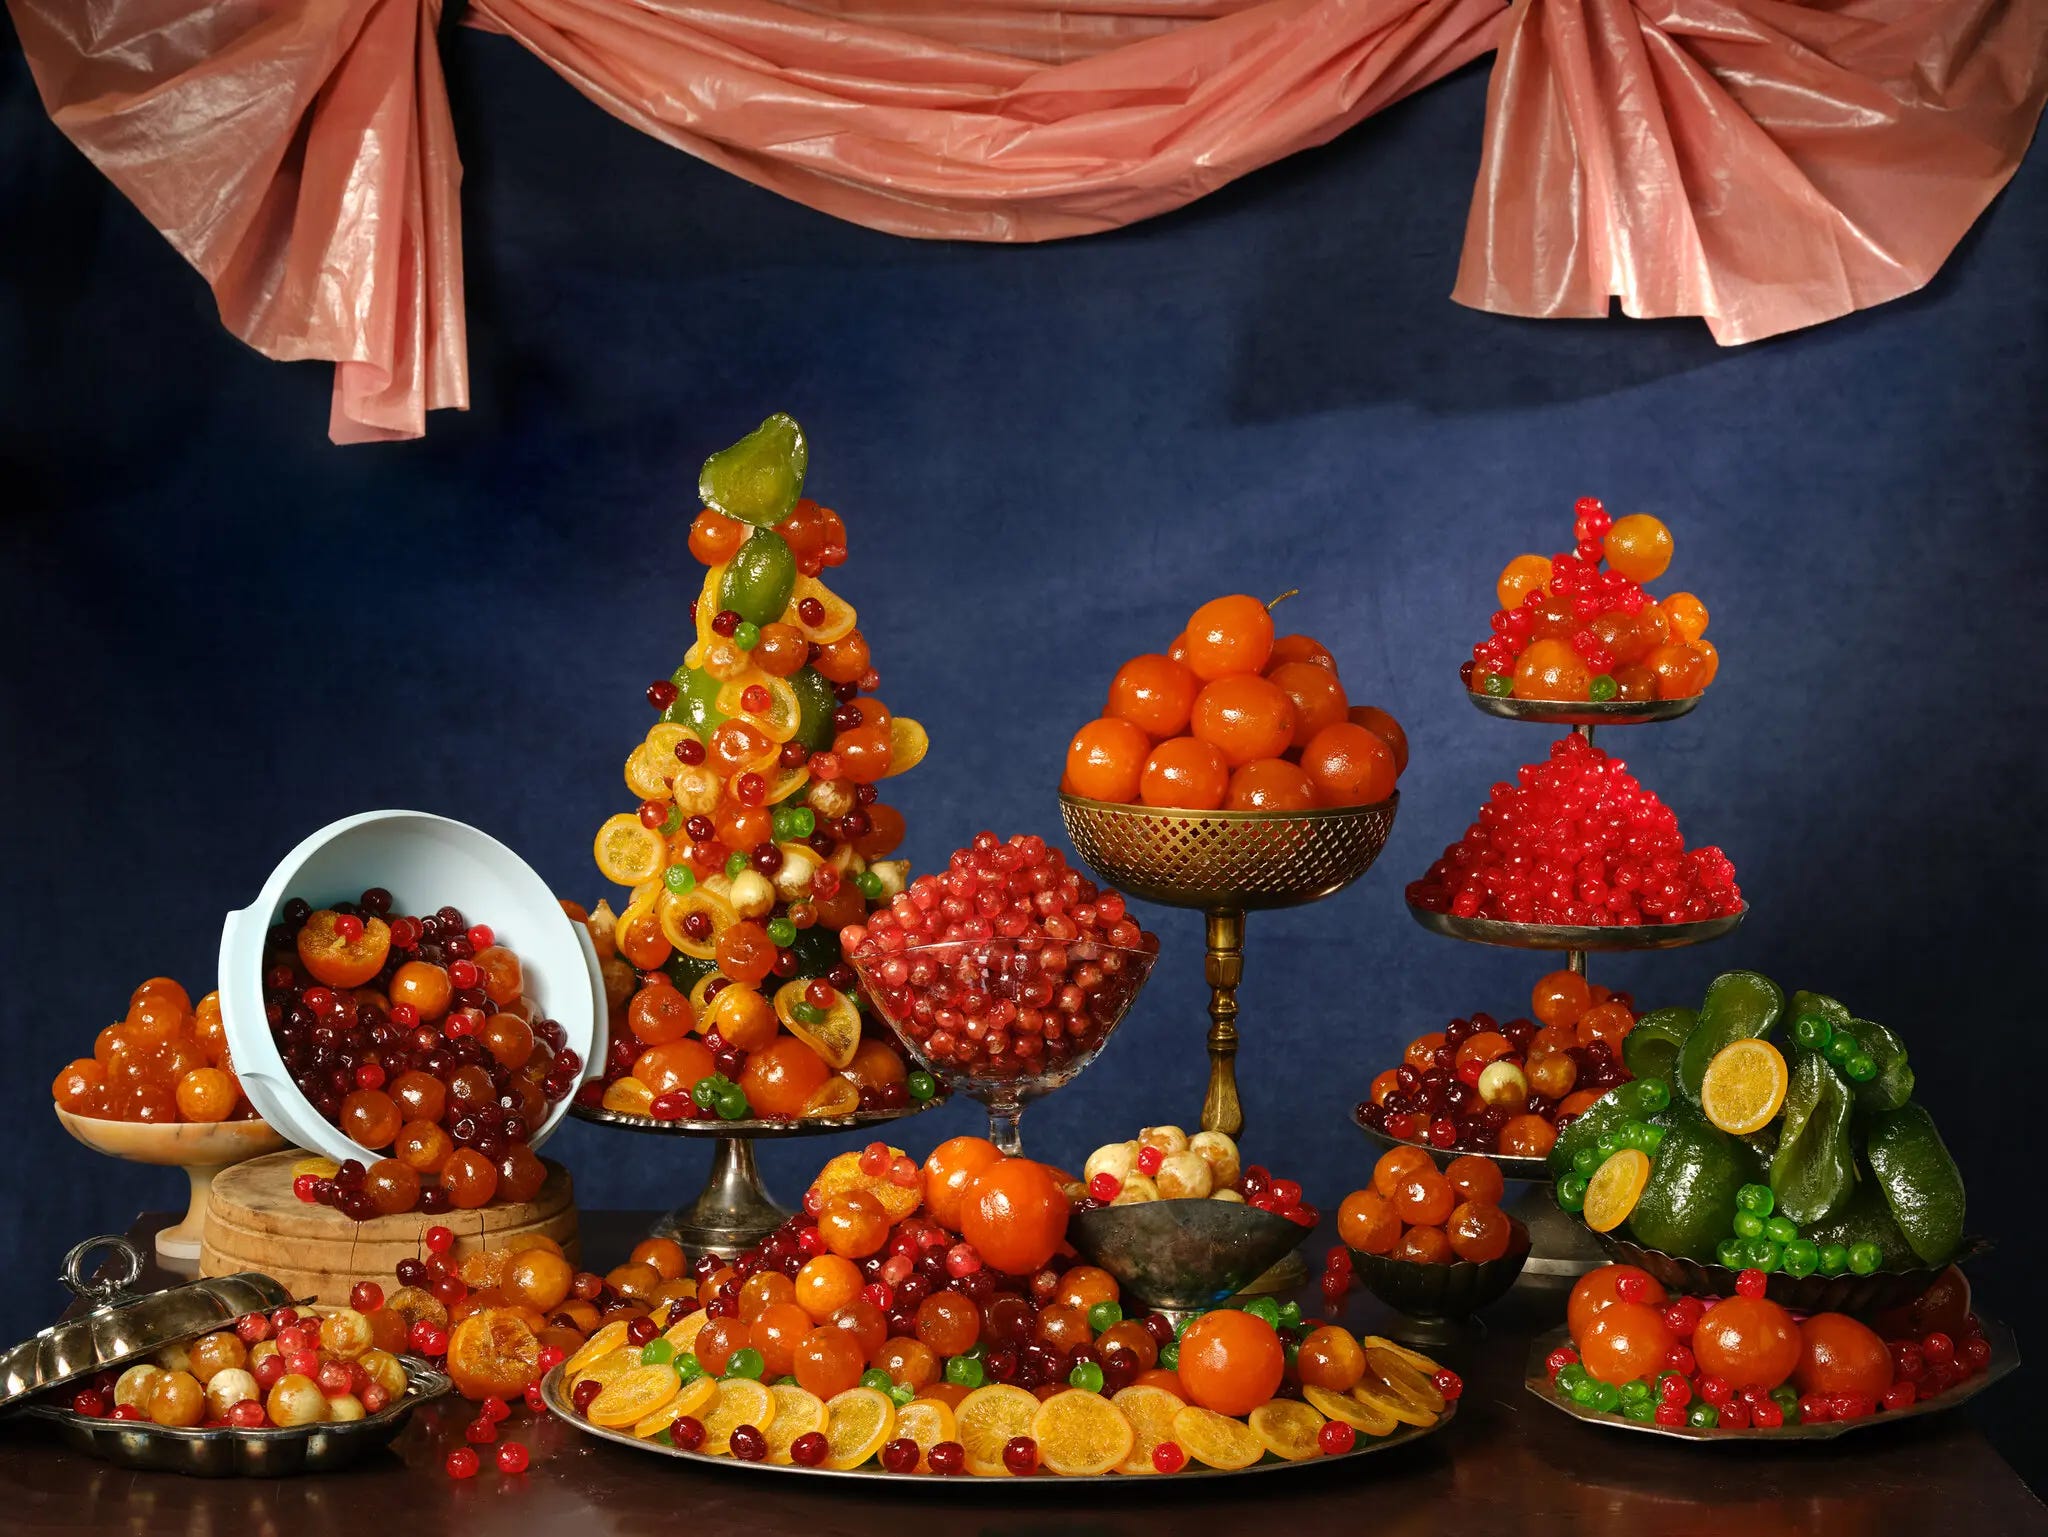
Candied fruit dates back to ancient times, when fruit from summer was preserved in honey to eat through the winter months. I find it a thing of celebratory beauty- luminous, brightly colored- reminiscent of jewels and stained glass, catching the light just so. It reminds me of being a child in my grandmother’s kitchen and helping her stir the annual giant batch of fruitcake for gifting and eating. She’d have those squat plastic tubs of mixed peel with glowing green cedron and suspiciously red glacè cherries, and we’d empty the containers one by one into the stiff batter- such a big batch that she mixed it in the canning pot, everyone taking turns mixing with a wooden spoon until your arm got sore.
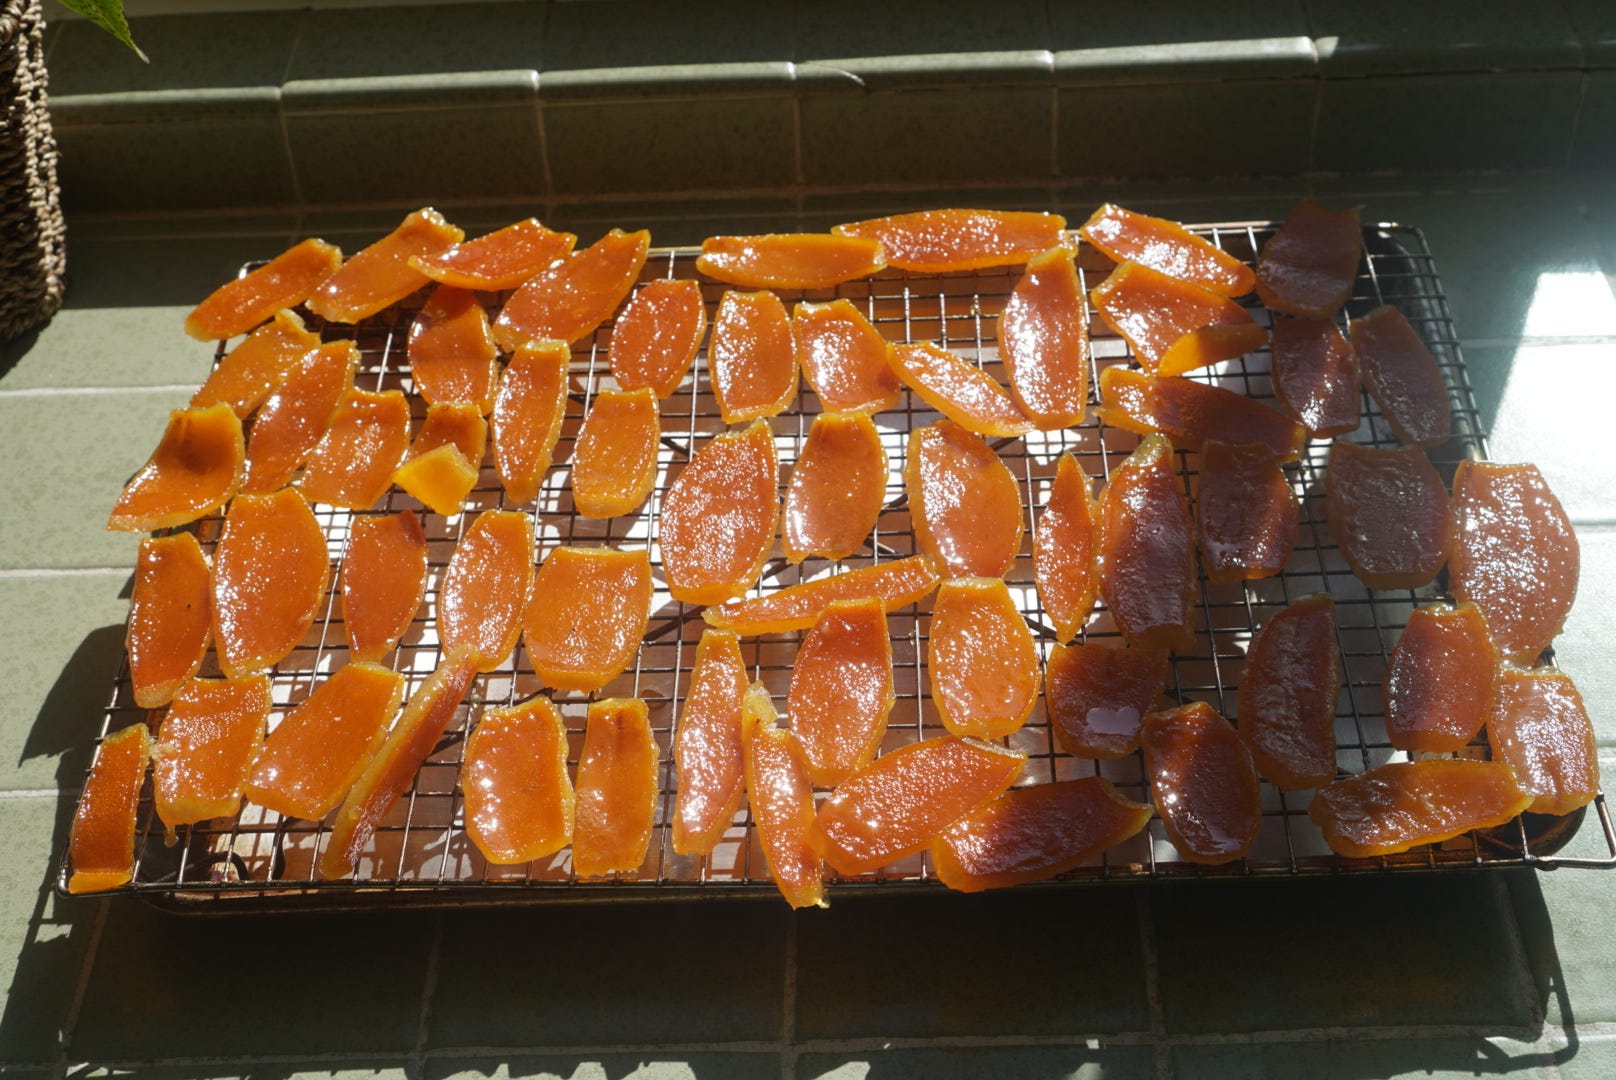
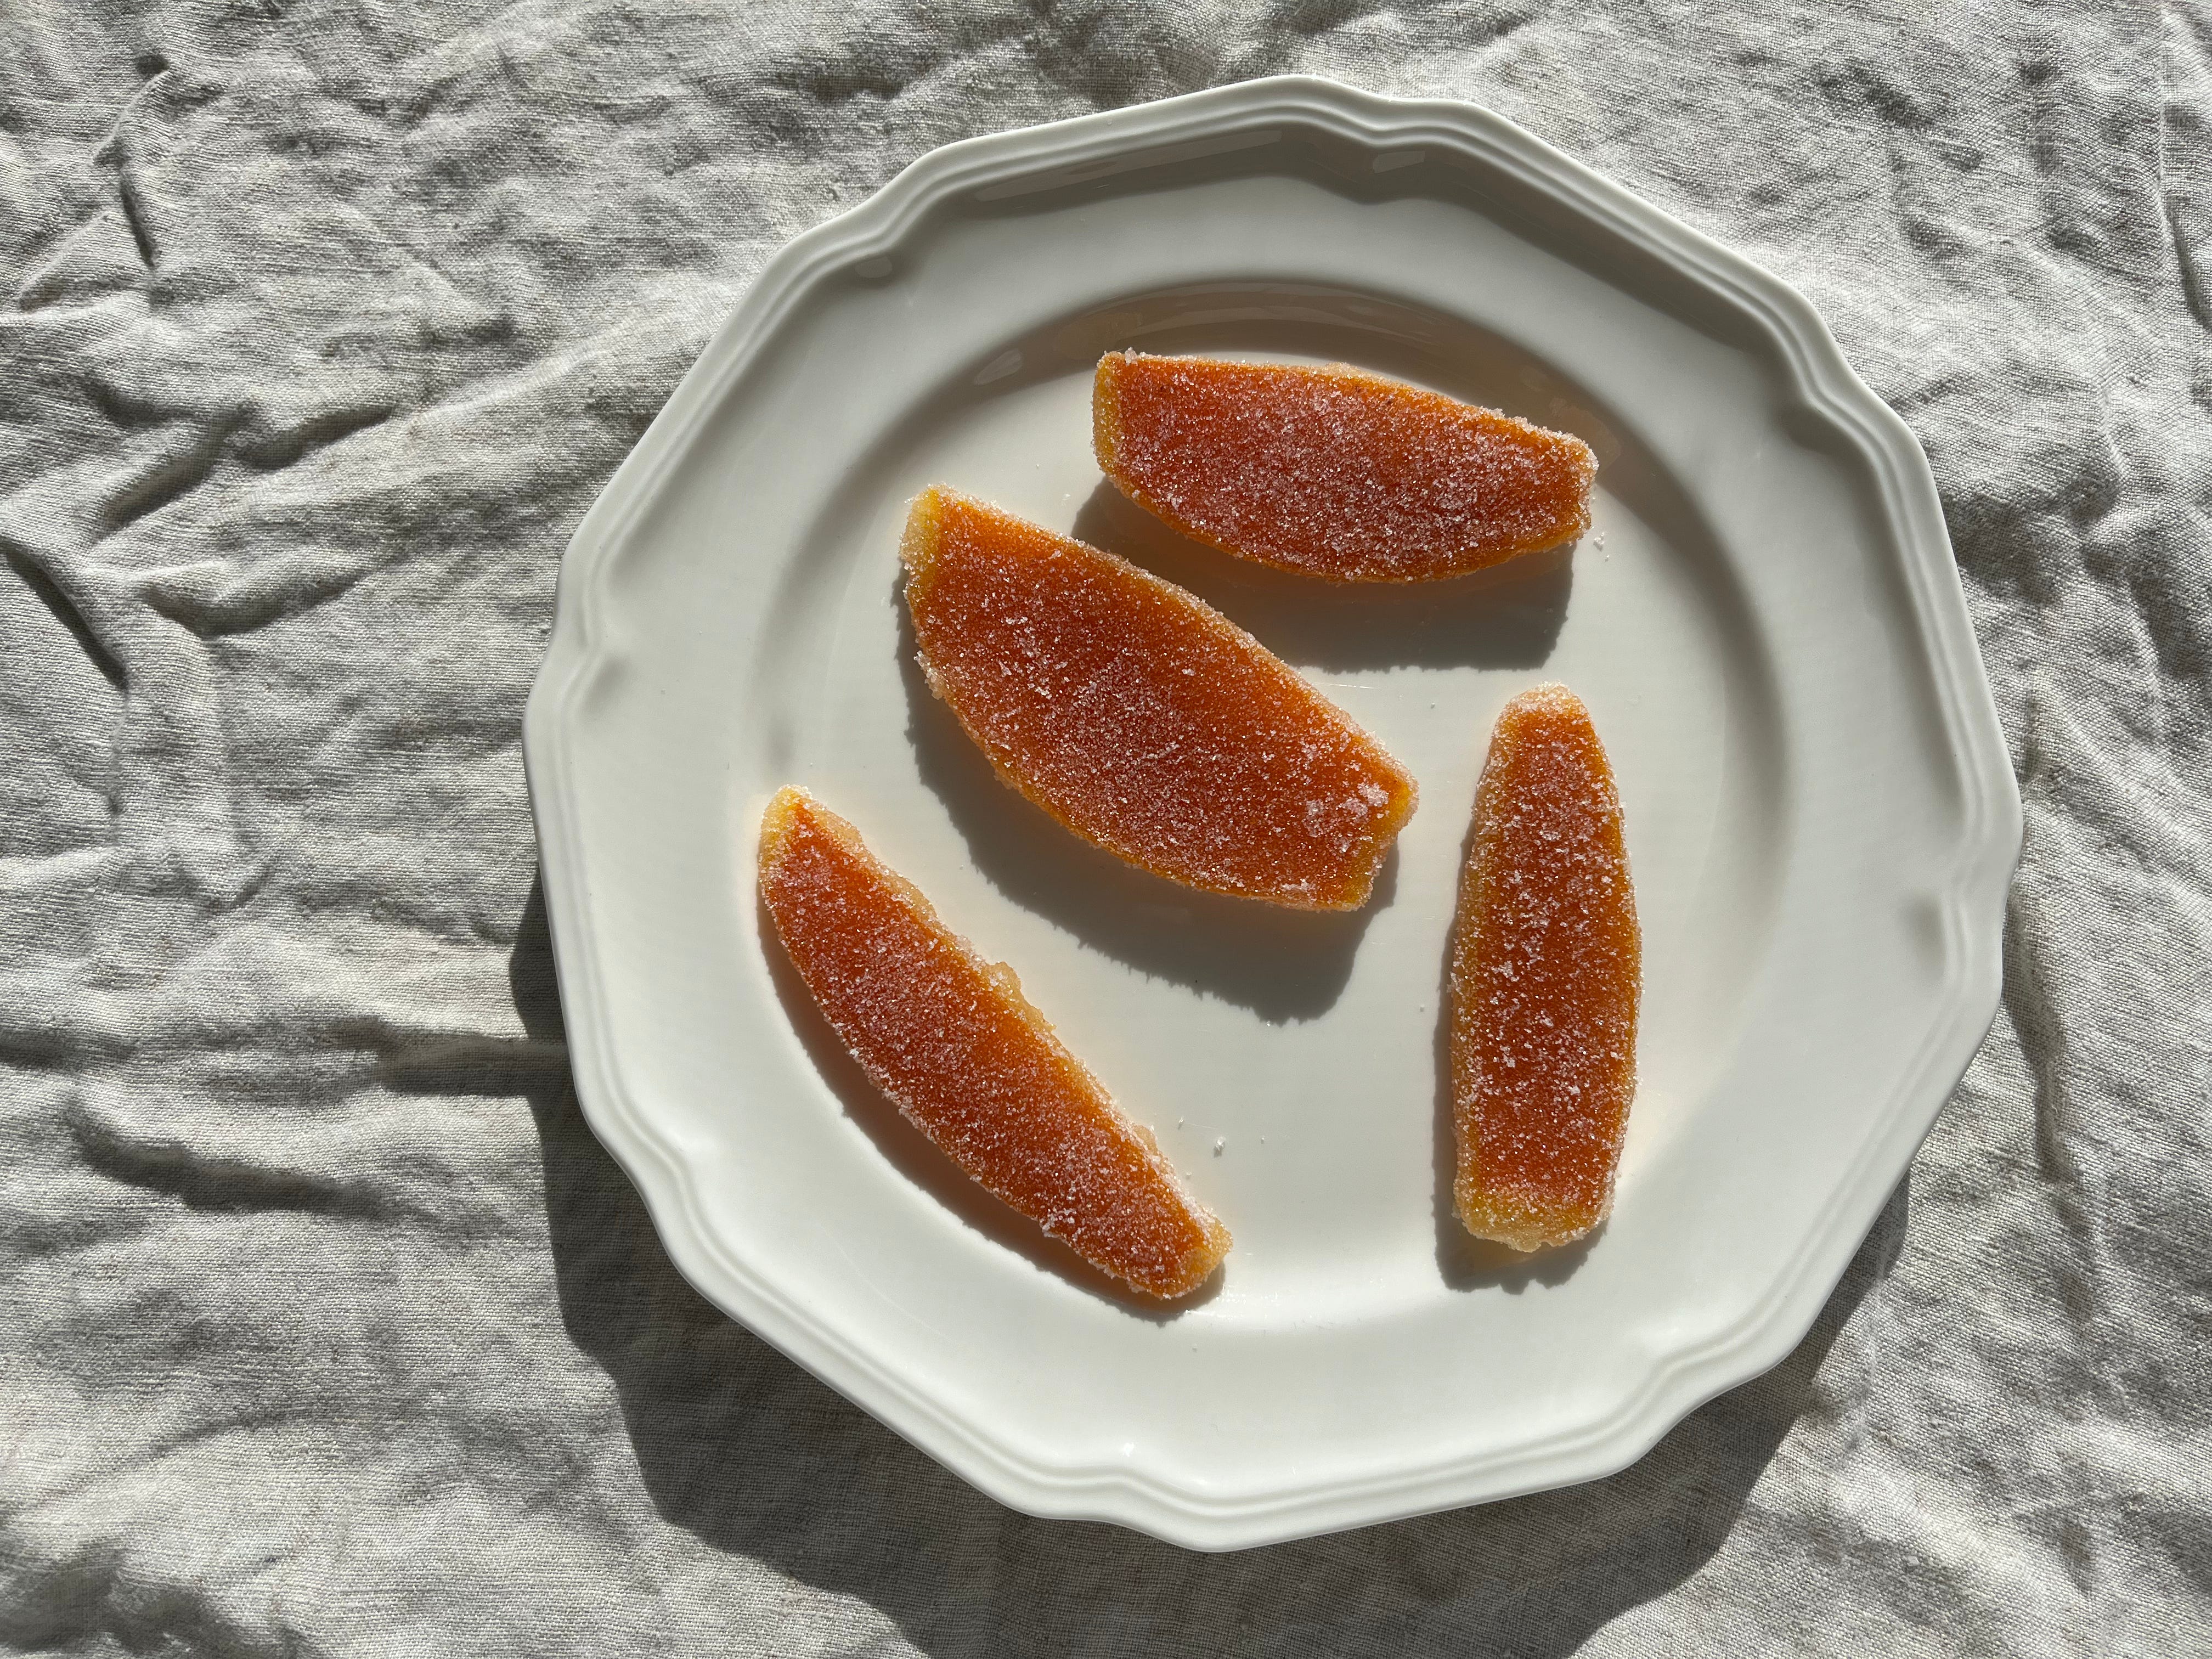
Candying citrus is not hard, it just takes time and effort, as most good things do- which is why it’s taken me this long to get around to the task this year. You take some fresh oranges, peel them, blanch the peel to remove excess bitterness, and then boil the peels in a heavy syrup until translucent. The peel will then need to sit for a few days on a wire rack to dry out a bit before tossing with granulated sugar to stop them from sticking to each other. After all this work is done, however, they store for at least a year or more in the freezer and are a wonderful gift, too- especially if fancied up by dipping one end in dark chocolate. They are also an excellent afternoon treat paired with an espresso or strong cup of tea and a square or two of dark chocolate. Intensely aromatic and acerbic, yet balanced by the sweetness, with both chew and softness, they are my favorite kind of candy. I hope you enjoy them as much as I.